
CAUTION / DISCLAIMER: If you are not comfortable with basic wiring I recommend against tackling this project. I am not responsible or liable should you fail to wire the fixture correctly.
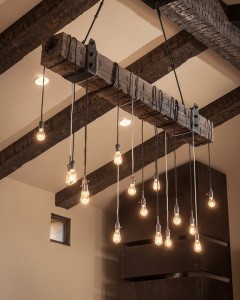
I came across the perfect chandelier a couple weeks ago. I knew when I first saw it that it was the right fixture to compliment the modern accents while carrying through the vintage influence. However, there was one problem with it-the $600+ cost! So, I built my own for $200 (including LED light bulbs) and wanted to share with you how I did it.
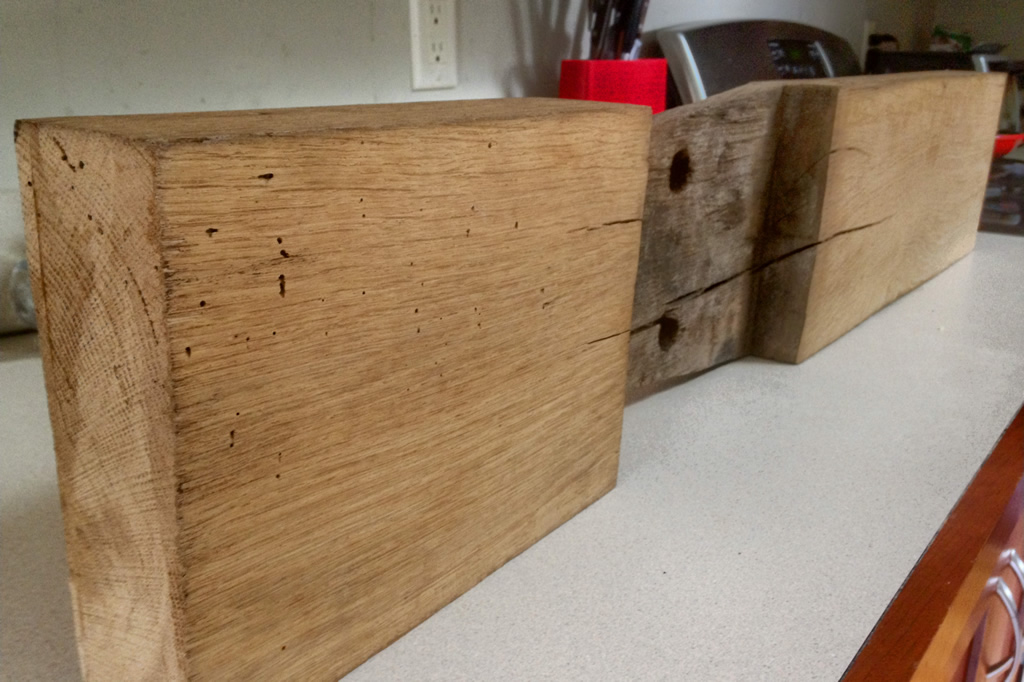
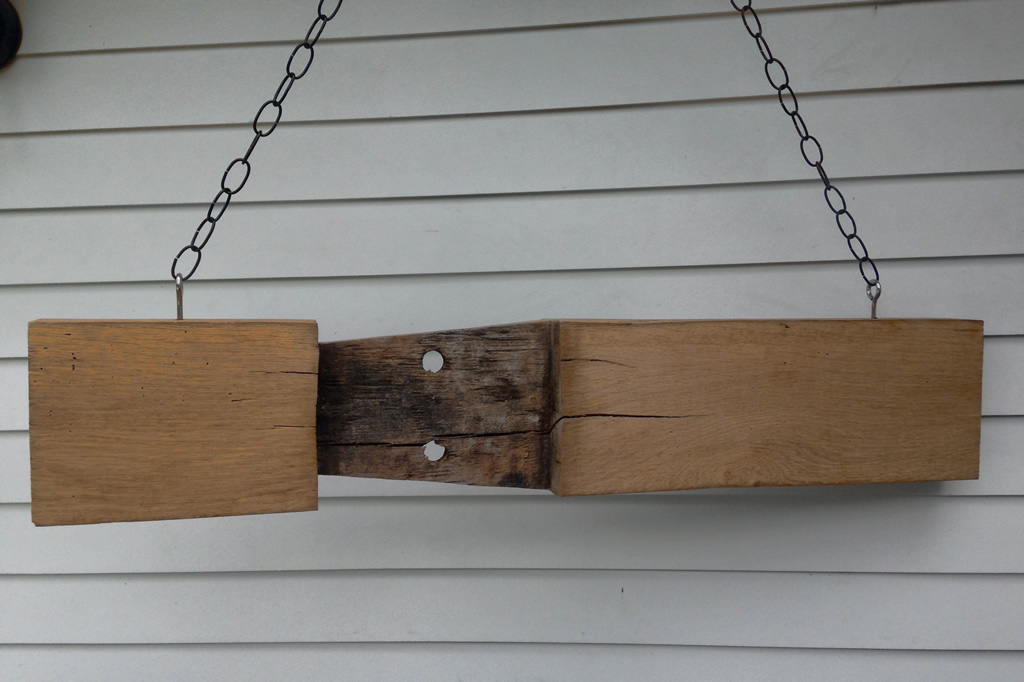
The first step was purchasing the right beam. A few weeks ago I wandered through Lonngleaf Lumber and picked out a 100+ year old oak barn beam.
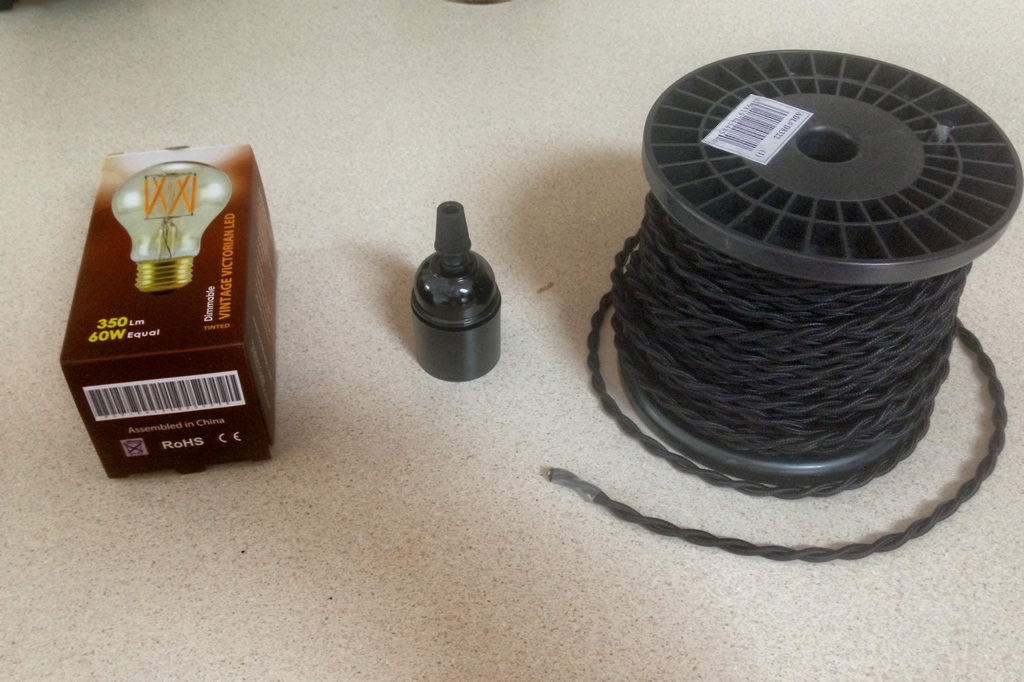
I then picked up the following additional supplies from Home Depot, Vintage Wire and Supply, and 1000 bulbs for my chandelier:
- (100ft) bulk black twisted rayon wire
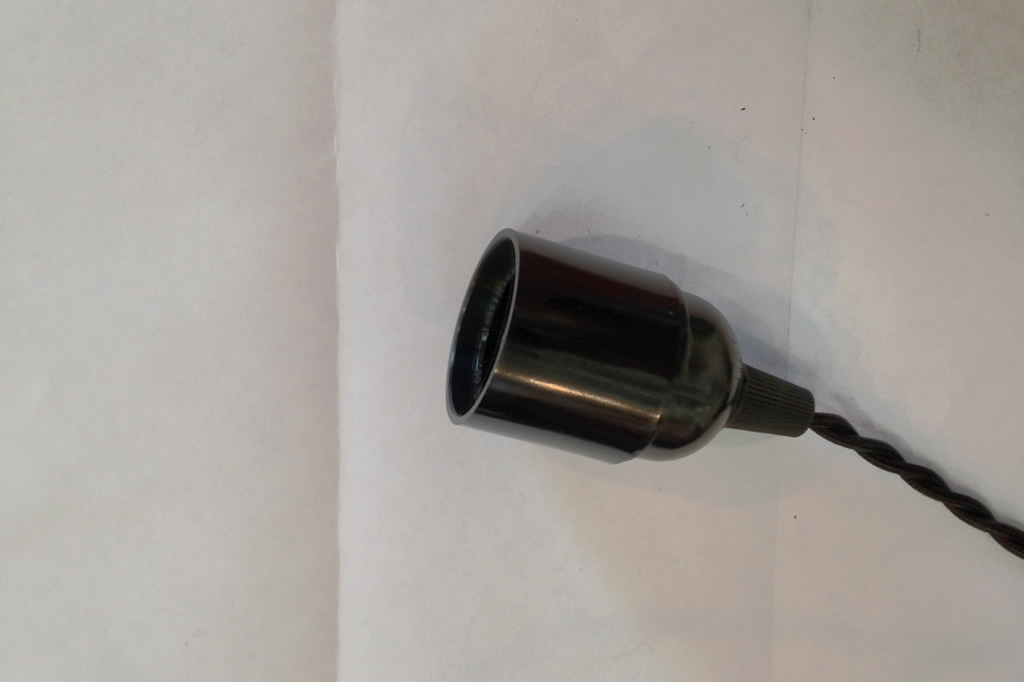
- (9) light sockets with strain reliefs
- (1) package of 4-wire press-insert wire nuts
- (1) roll of black gaffing tape
- (1) package of black wire staples
- (2) 3in eye hooks
- (20ft) black 35lb chain
- (9) edison-style LED bulbs

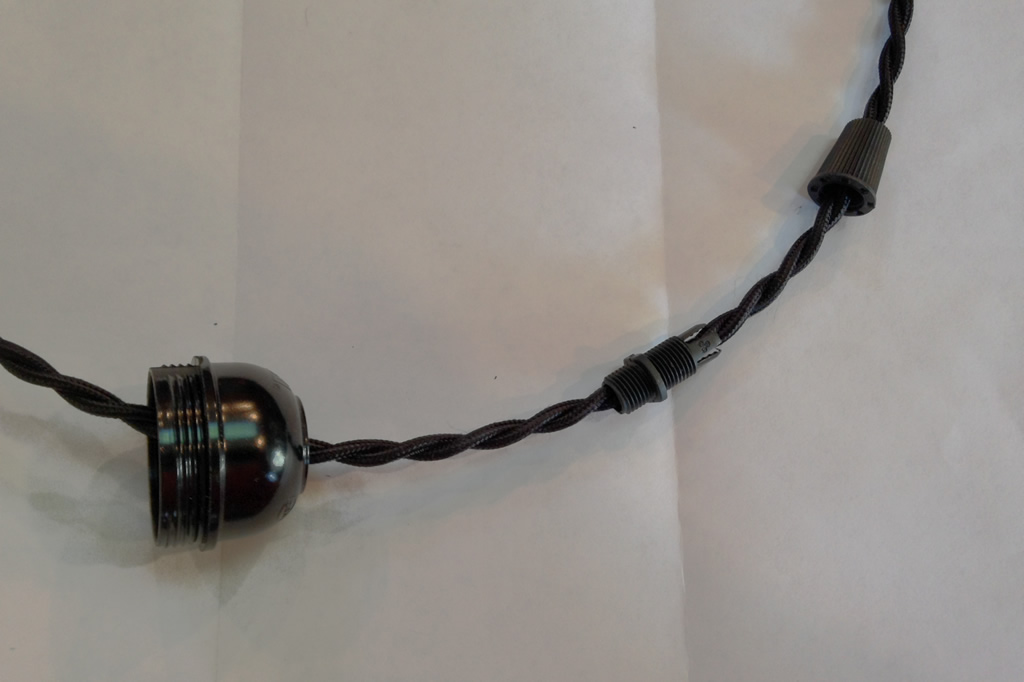
I assembled each light socket one at a time ensuring that I made a good electrical connection at the socket and adequately tightened the strain relief to ensure the wire would hold the socket.
Next, I wrapped the wire 2-3 times around the beam and secured the end with a single wire staple. This ensured that I can make adjustments to the height of the bulbs after the fixture is hanging.
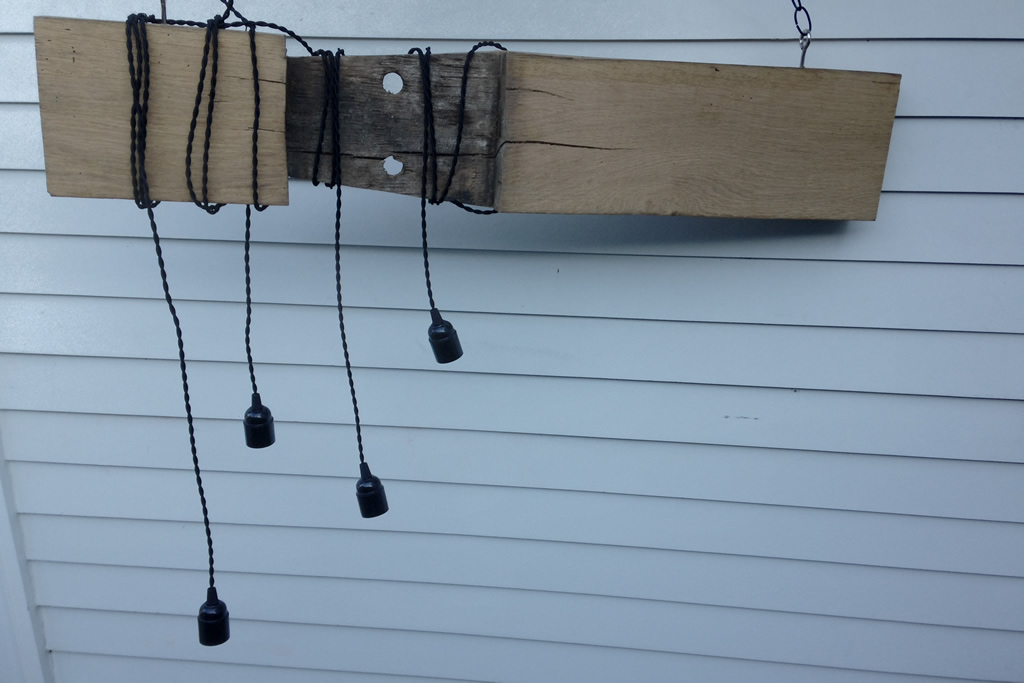
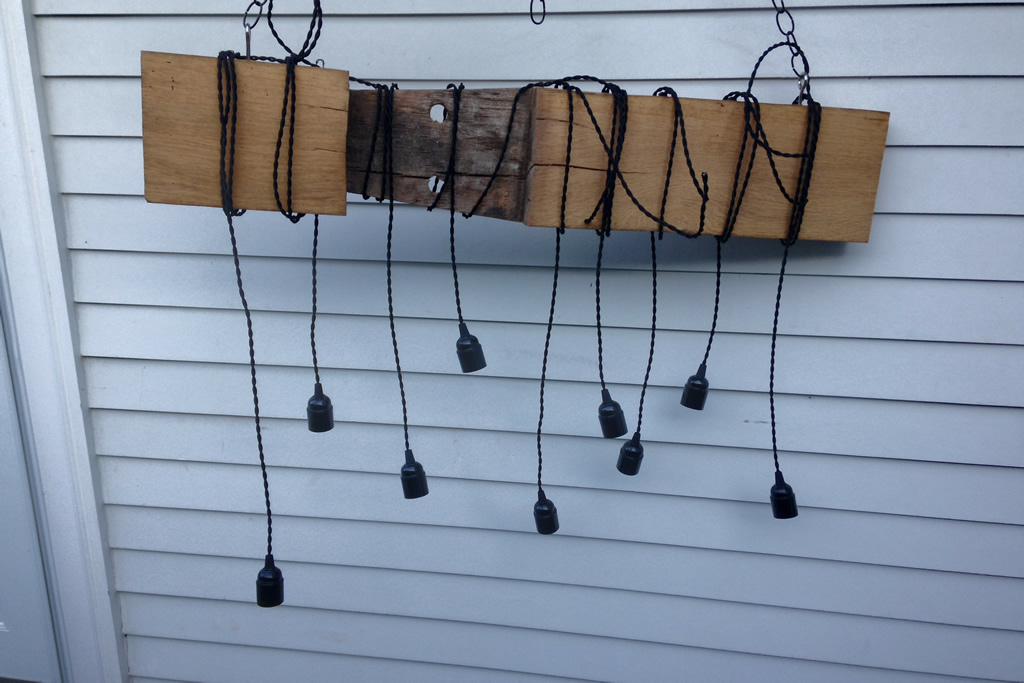
I repeated the above two steps until I had nine light sockets of varying lengths hanging from the fixture. There should be nine light sockets wrapped around the beam and nine 1ft pigtails ready to be wired together at this point.
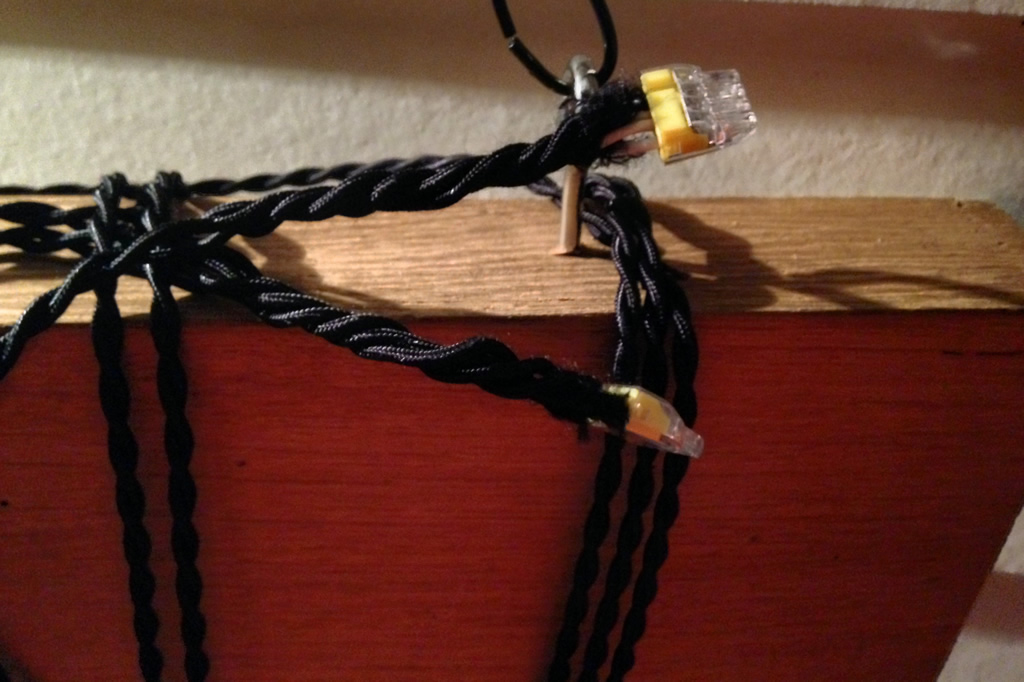
I carefully separated the positive and negative wires, placed them underneath the wrapped wires and connected them with wire nuts. Since only 3 sockets could be wired together, a jumper wire was used to pickup the three bundles. The wire nuts were covered in black gaffing tape and glued to the top of the beam.
Lastly, the black chain was attached to the eye hooks and the fixture hung!
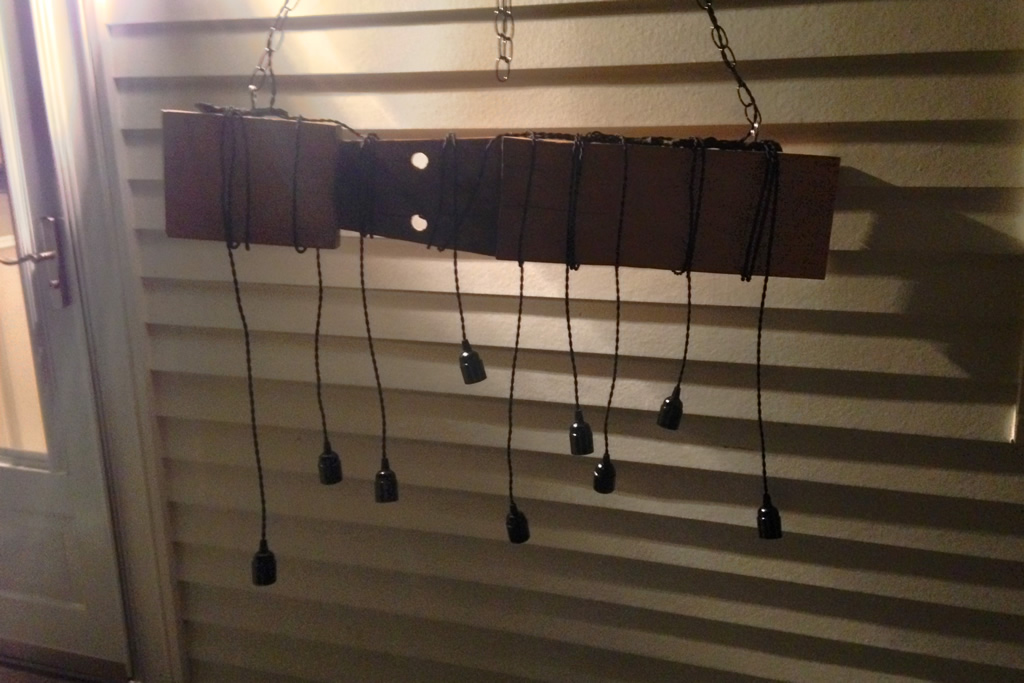
The chandelier is bright with LEDs, around 3500 lumens, and should more than adequately light up a dining room!